Using the Aquacorner® Raised Bed Soaker System
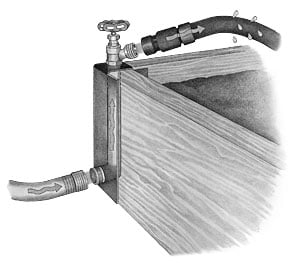 The Aquacorner brings the faucet to your garden. Use one Aquacorner and three Raised Bed Corners to build a square or rectangular raised bed.
Selecting Lumber
Use standard, 2" dimensional (milled) lumber, widely available at home supply stores. We recommend cedar because it's naturally insect- and rot-resistant.
If you use pine or another softwood, consider treating it with a nontoxic wood preservative to prolong the life of the bed. Select board sizes based on the height of the corners you've purchased as well as the length and width of the bed you're building.
For ease of planting and maintenance, we suggest beds a maximum of 4' wide. For example, if you'd like to build a 4' x 8' bed with 8" high corners, purchase three 2" x 8" x 8' boards. Either have one of the boards cut in half at the store or cut it in half when you get home, so you end up with two 8' boards for the sides and two 4' boards for the ends.
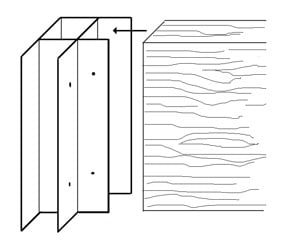
Push the cedar board into the Raised Bed Corner until it is fully seated.
Adding an Aquacorner to an Existing Bed
Choose the Raised Bed Corner you wish to replace with the Aquacorner. Remove enough soil from that corner of the raised bed to allow you to access the screws in the old corner. Remove the screws using a Phillips drill bit or sturdy screwdriver. Slide the old corner up and remove it from the raised bed.
Insert the new Aquacorner by sliding it down over the exposed ends of the raised bed sides. Make sure the boards are fully seated. Connect the boards to the Aquacorner using the Phillips screws provided. Replace the soil. Proceed with Step 6, below.
Raised Bed Assembly
Required Tools
- Drill with Phillips screwdriver tip
- Rubber mallet or hammer and piece of wood for cushioning
- Saw, if needed
- Prepare the Area
Locate a level area that will receive the appropriate amount of sunlight needed by your plants. If you are installing the raised bed on a lawn, we suggest removing the sod for best results. Determine the best location for the Aquacorner. Usually, this will be the corner situated closest to the water supply.
- Insert Boards into Corners
Place the boards into the slots of each Raised Bed Corner and the Aquacorner to form the bed. Make sure the boards are fully seated and level.
- Screw Boards to Corners
Use the Phillips screws provided to connect the boards to the Corners. To make it easier, drill starter holes in the wood before inserting the screws.
- Insert Corner Caps
Insert the black plastic Corner Caps into the top of each Corner and Connector. Gently tap into place with rubber mallet, or with a hammer, using a piece of wood for cushioning.
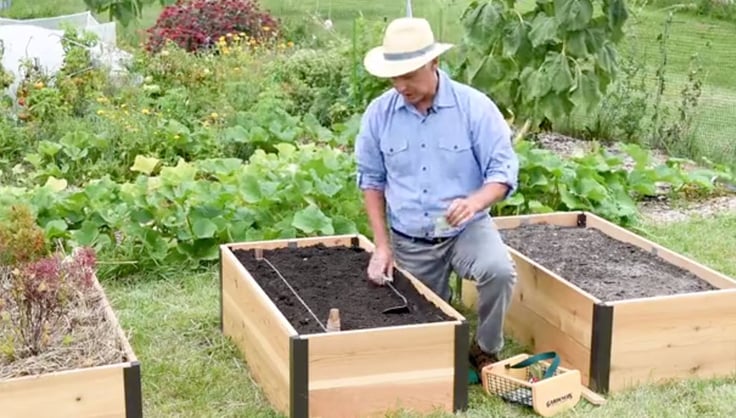
- Fill Bed with Soil
Fill the raised bed with a mixture of garden soil and plenty of organic matter, such as compost. To figure out how much soil and amendments you need, use the Soil Calculator.
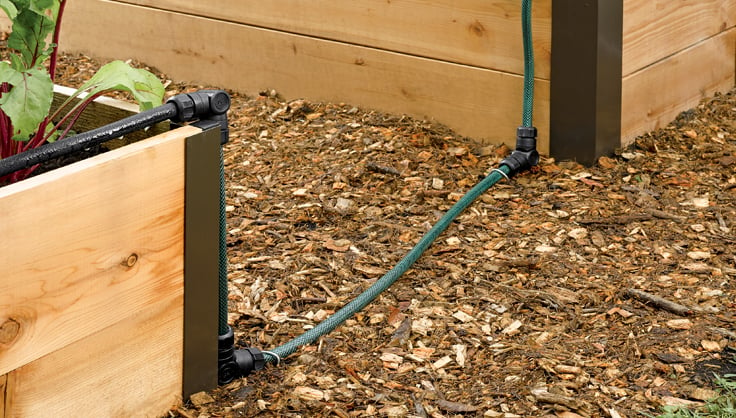
- Connect the Aquacorner to a Hose
Connect a standard garden hose to the connector at the base of the Aquacorner and to a water source, such as your household water supply or a rain barrel. Now you can use the Aquacorner to fill a watering can, or you can attach a soaker hose, drip irrigation system or sprinkler, using the spigot on the corner to control water flow.
Assembling the Aquacorner System
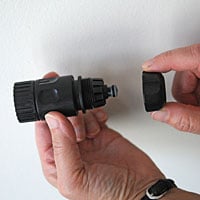
Step 1: Unscrew the threaded cap from the Quick Connect with Coupler.

Step 2: Slide the cap over the end of the soaker hose.
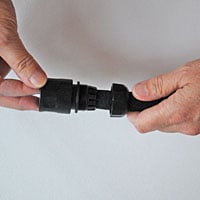
Step 3: Insert the end of the hose firmly into the flanged end of the Quick Connect until it stops.
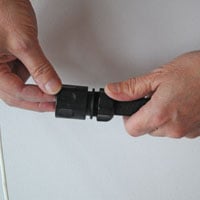
Step 4: Screw the cap onto the Quick Connect and twist it firmly into place.
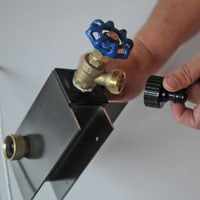
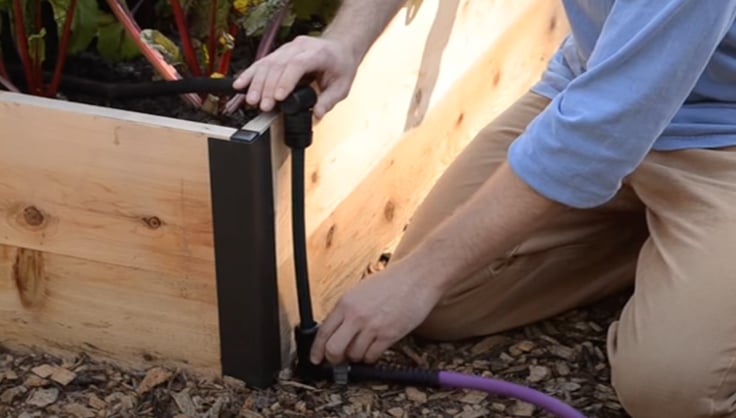
Step 5: Screw the Faucet Adapter onto the threaded Aquacorner spigot.
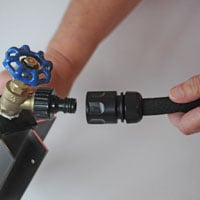
Step 6: Push the Quick Connect firmly onto the Faucet Adapter until it clicks into place.
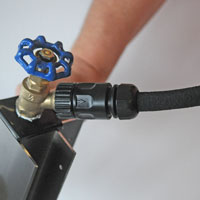
Step 7: To release the Quick Connect from the Faucet Adapter, slide the Quick Connect barrel back in the direction of the arrows. Pull firmly to disconnect.
Gardeners transform a rooftop into an abundant vegetable garden
Gardener's Supply works with customers from around the country to test products in different growing zones and situations. Watch how the gardeners at Fountain House collaborated with us to make our products better.
Last updated: 07/13/2023
Print this Article:
Related Articles
Get the Dirt
Stay up to date on new articles and advice. Please fill out the information below.